Maintaining Your Storage Tanks: A Guide to Replacing Aging Conservation Vents
Vents play a critical role in the safe and efficient operation of storage tanks. These devices are designed to relieve pressure and prevent potential accidents or damage to the tank. However, like any equipment, conservation vents can wear out or become damaged over time. Therefore, it's important to regularly inspect and replace old vents to ensure the continued protection and performance of your storage tank.
Step 1: Inspect the Existing Conservation Vent
Before replacing a vent, conduct a thorough inspection of the current unit. Look for signs of damage, corrosion, or wear that could affect performance. Common issues include:
- Cracks or broken components
- Corrosion on metallic surfaces
- Debris buildup inside the vent housing
- Deteriorated seals or gaskets
If any of these signs are present, it’s time to proceed with a replacement.
Step 2: Choose the Right Replacement Vent
Selecting the appropriate conservation vent requires careful consideration of several factors:
- Tank size and design: The vent must accommodate the volume and pressure/vacuum relief needs of your specific tank.
- Stored material properties: The chemical compatibility of vent materials with the tank contents is essential.
- Vent type: Options include pressure/vacuum conservation vents, emergency relief vents, and flame arresters. Choose according to your safety and compliance requirements.
Step 3: Remove the Old Vent
Follow all applicable safety protocols and use the correct tools when removing the old conservation vent. Ensure the tank is depressurized and that all flammable or hazardous materials are handled appropriately during removal.
Step 4: Clean the Installation Area
Before installing the new vent, clean the area around the vent opening. Remove any dirt, rust, old gasket residue, or other debris to ensure a secure, leak-free installation.
Step 5: Install the New Conservation Vent
Follow the manufacturer’s installation instructions carefully. Ensure the new vent is:
- Properly aligned with the tank opening
- Secured with appropriate hardware and torque
- Equipped with fresh seals or gaskets
- Tightened and tested for any leaks
Step 6: Ongoing Maintenance
After installation, inspect the new conservation vent on a regular basis. This includes checking for wear, testing pressure relief functions, and cleaning out any debris that could affect operation. Periodic maintenance ensures long-term performance and safety.
Conclusion
Replacing an old conservation vent is a critical step in maintaining the safety, efficiency, and compliance of your storage tank system. Through regular inspection, correct selection, and proper installation, you can ensure your vent continues to protect your tank and its contents. Always follow safety procedures, and consult a qualified professional if necessary for complex or hazardous installations.
Need the Right Conservation Vent? Get Expert Help Choosing the Ideal Fit for Your Storage Tanks |
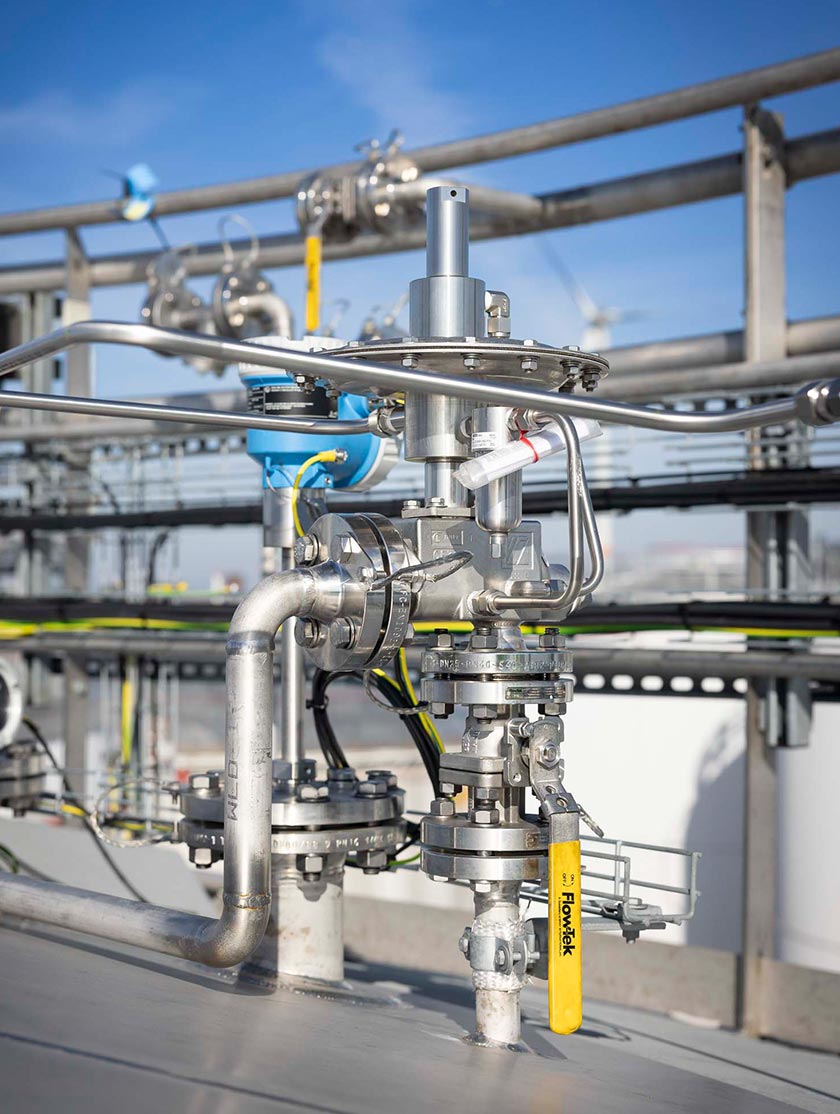
Conservation vents are a vital component of the Storage Tank Equipment category, designed to manage pressure and maintain the integrity of stored products while ensuring safety and regulatory compliance. For more information about Cashco's reliable Conservation Vents, view all models here .
Cashco is dedicated to ensuring you select the best solution for your tank protection needs. Need help choosing the right conservation vent? Contact us and our experienced team will gladly assist you in finding the ideal product!