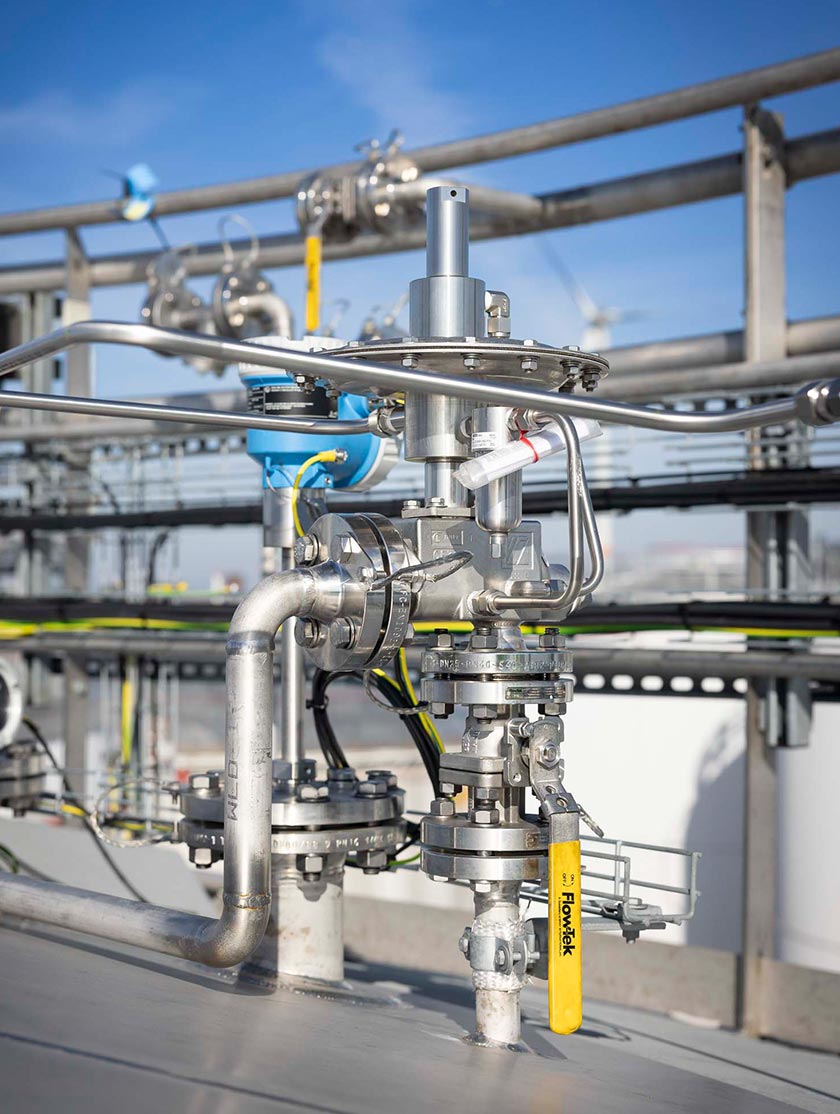
Mastering Pressure: A Step-by-Step Guide to Installing a Pressure Reducing Regulator"
One of the most difficult tasks for a homeowner can be installing a pressure regulating valve (PRR). With so many different components and steps, this project can seem complicated and overwhelming. However, with the right approach and step-by-step instructions, installing a PRR can be a practical and doable task, and one that can greatly improve the functionality and longevity of your home’s plumbing system.
Step-by-Step Guide to Installing a Pressure Regulating Valve (PRR)
Step 1: Gather Your Materials
Before you begin the installation process, it’s important to gather all the necessary materials and tools. This includes:
- Pipe wrench
- Teflon tape
- Your new PRR
- Any other necessary accessories specific to your plumbing system
Having everything on hand can help ensure a smoother and more efficient installation process.
Step 2: Turn Off the Water
Before you begin any work, be sure to turn off the main water valve to your home. This will prevent water from flooding the area and allow for safe and efficient work.
Step 3: Remove the Old PRR
If you are replacing an old PRR, you will need to remove it first. Using a pipe wrench, loosen and remove all connections and fittings connected to the PRR. Then carefully remove the PRR from the pipe. Make sure you have a bucket or towel handy to catch any excess water that may leak out.
Step 4: Install the New PRR
Using Teflon tape, wrap the PRR threads in a clockwise direction. This will ensure a tight and secure seal. Then, place the PRR on the pipe and tighten it with a pipe wrench. Be careful not to overtighten, as this can damage the fittings.
Step 5: Reconnect the Water Supply
Once the new PRR is securely in place, you can reconnect the fittings and connections that were disconnected in Step 3. Make sure they are secure, but be careful not to overtighten them.
Step 6: Test the PRR
Once everything is reconnected, open the main water valve again and test the PRR. Check for leaks and make sure the pressure is now at a safe and desired level. If everything looks good, congratulations – you have successfully installed a pressure regulator!
Conclusion
Installing a PRR may seem complicated, but following these simple tips can ensure a smooth and convenient operation. If you take the time to properly install and maintain your PRR, you can significantly improve your home's plumbing system, preventing excessive water pressure that could lead to leaks, pipe damage, or appliance wear.
For more information about Cashco's versatile Pressure Reducing Regulators, view all models here .
Cashco's priority is to make sure you select the right product for your application. Need help choosing the right regulator? Contact us and our team will be happy to help you find the right product!


