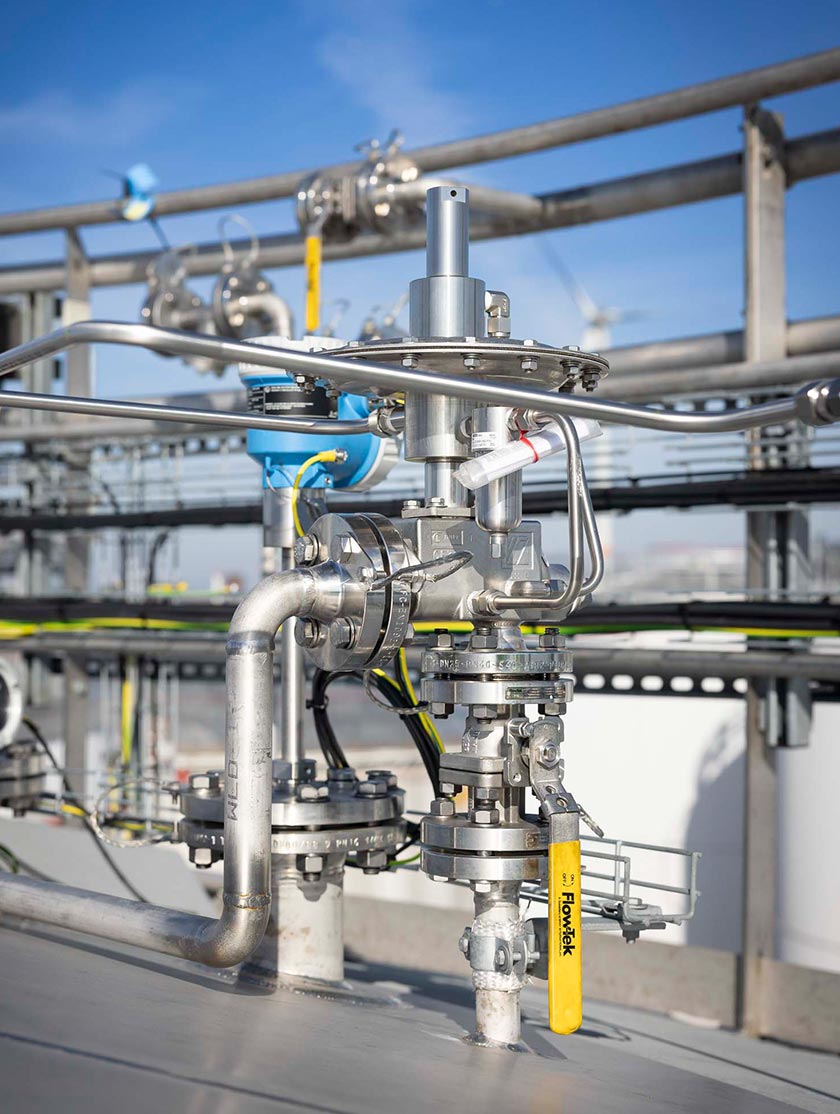
Mastering Pressure Regulator Adjustment: A Step-by-Step Guide
Pressure regulators are essential components in various industries, ensuring safe and stable fluid or gas flow from a high-pressure source to a lower, controlled pressure. Properly adjusting these regulators is critical to avoid efficiency losses, equipment damage, or potential safety risks. Here’s how to properly adjust a pressure regulator for safe and efficient operation:
Step-by-Step Guide for Adjusting a Pressure Regulator
Step 1: Determine the Desired Outlet Pressure
Before making adjustments, identify the optimal outlet pressure for your specific application. Outlet pressure requirements vary based on equipment or process specifications. Consult your system documentation or equipment guidelines to determine the exact required pressure.
Step 2: Check the Inlet Pressure
Using an appropriate pressure gauge, verify the regulator’s inlet pressure—the pressure entering the regulator. Ensure it does not exceed the maximum inlet pressure rating specified by the regulator manufacturer. Exceeding this rating could damage the regulator or cause unsafe operating conditions.
Step 3: Adjust the Regulator Set Screw
Locate the regulator’s adjustment screw, typically found on top or on the side of the device. Turn this screw gradually, making small incremental adjustments:
- Turn the screw clockwise to increase outlet pressure.
- Turn it counterclockwise to reduce outlet pressure.
Make incremental adjustments and measure the outlet pressure after each turn.
Step 4: Monitor the Outlet Pressure
Use a reliable pressure gauge downstream of the regulator to continuously monitor the outlet pressure as you make adjustments. Confirm the regulator achieves and consistently maintains the desired pressure level without fluctuations.
Step 5: Lock the Adjustment Screw
After reaching the desired pressure level, lock the regulator’s adjustment screw (if provided) using a locking nut or securing mechanism. This prevents accidental pressure adjustments, ensuring safe and stable operation.
Step 5: Recheck for Stability and Leaks
After adjustment, inspect the system carefully for stability and any signs of leakage around the regulator. Confirm that the pressure remains stable over an extended period, indicating successful adjustment.
Best Practices for Pressure Regulator Adjustment
- Always follow the manufacturer's detailed adjustment procedures provided in your regulator’s instruction manual.
- Make small, incremental adjustments rather than large changes, which could destabilize the system.
- Regularly monitor and record the pressure to quickly identify deviations or issues.
Conclusion
Properly adjusting your pressure regulator is vital for system efficiency, equipment longevity, and operational safety. By following these straightforward steps and referring closely to the manufacturer's guidelines, you can confidently maintain optimal performance and minimize safety risks associated with improper pressure settings.
For more information about Cashco's versatile Pressure Reducing Regulators, view all models here .
Cashco's priority is to make sure you select the right product for your application. Need help choosing the right regulator? Contact us and our team will be happy to help you find the right product!


